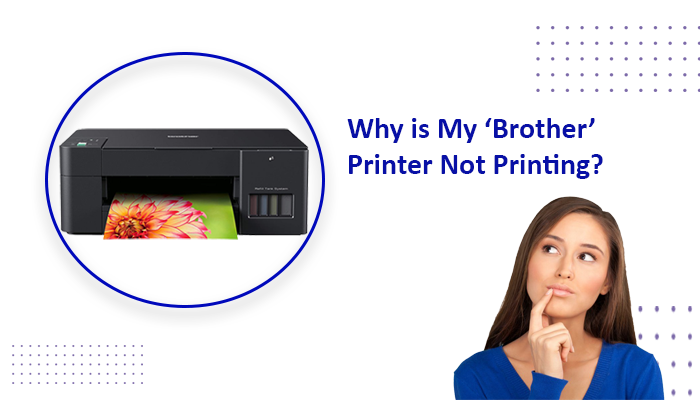
Is your Brother printer refusing to cooperate when you need it most? Don’t worry – we’ve got you covered with this troubleshooting guide to tackle the issue of “Brother printer not printing.” Whether you’re dealing with faded prints, paper jams, or connectivity problems, our expert tips will have your printer back to its productive self in no time.
Troubleshooting Steps for Brother Printer Not Printing:
- Check Ink or Toner Levels: Make sure your printer has sufficient ink or toner. Low levels can result in poor print quality or blank pages. Replace cartridges if needed.
- Run Print Head Cleaning: Use your printer’s utility software to run a print head cleaning cycle. This can help clear clogged nozzles and improve print quality.
- Inspect Paper Tray and Feed: Ensure the paper is loaded correctly in the tray and isn’t jammed. Fan the paper stack before loading to prevent sticking.
- Verify Connectivity: Check the connection between your printer and computer. If using a wireless connection, ensure both devices are on the same network.
- Restart Printer and Computer: Sometimes a simple restart can resolve temporary glitches. Turn off both the printer and computer, then turn them back on.
- Update Drivers and Firmware: Visit the official Brother website to download and install the latest drivers and firmware for your printer model.
- Check Print Queue: Clear any pending print jobs in the print queue. Sometimes, a stuck job can prevent new printing tasks.
- Adjust Print Settings: If prints appear faded or distorted, adjust the print settings for higher print quality.
- Inspect for Paper Jams: Thoroughly check for paper jams in different areas of the printer, such as the paper tray, output tray, and back panel.
- Perform a Test Print: Use the printer’s built-in test print function to diagnose and identify any specific issues affecting print quality.
Don’t let a Brother printer that’s not printing put a halt to your productivity. Follow our comprehensive troubleshooting guide to address common printing issues and restore your printer’s functionality. With a little patience and these expert tips, you’ll have your Brother printer back to producing crisp and clear prints in no time
How to Connect a Brother Printer to Your Computer: Step-by-Step Guide
Connecting your Brother printer to your computer is a straightforward process that can enhance your printing experience. Whether you prefer a wired or wireless connection, our step-by-step guide will walk you through the process, ensuring you can start printing with ease.
Wired Connection: USB Cable
- Prepare Your Printer: Ensure your Brother printer is powered on and properly set up. Keep the printer’s USB cable handy.
- Connect the USB Cable: Plug one end of the USB cable into the designated port on your Brother printer and the other end into an available USB port on your computer.
- Install Drivers (if needed): In some cases, your computer may automatically detect and install the necessary drivers. If not, visit the official Brother website to download and install the latest drivers for your printer model.
- Print a Test Page: Once the connection is established and drivers are installed, print a test page to verify successful communication between the printer and computer.
Wireless Connection: Wi-Fi
- Prepare Your Printer: Power on your Brother printer and ensure it’s properly set up for wireless connectivity. Locate the Wi-Fi button or touchscreen settings.
- Access Wi-Fi Settings: On the printer’s control panel, navigate to the Wi-Fi settings. Choose your Wi-Fi network from the available options.
- Enter Wi-Fi Password: If prompted, enter the Wi-Fi password using the printer’s control panel. Take care to enter the password accurately.
- Install Drivers and Software: Visit the official Brother website and download the necessary wireless drivers and software for your printer model. Follow the installation prompts.
- Complete Setup on Computer: Once the drivers and software are installed, open the printer settings on your computer. Locate and select your Brother printer from the list of available devices.
- Print a Test Page: After successfully connecting your Brother printer to your computer, print a test page to confirm that the wireless connection is working as expected.
How to Connect Brother printer to your computer is a simple process that enhances your printing capabilities. Whether you choose a wired USB connection or a convenient wireless setup, following our step-by-step guide ensures a seamless connection that allows you to print documents, photos, and more effortlessly. Enjoy the convenience of a reliable printer-computer connection for all your printing needs.
Troubleshooting Steps for Brother Printer Not Connecting to Computer:
- Check Physical Connections: Ensure that all cables, whether USB or power cords, are securely connected to both the printer and the computer.
- Restart Printer and Computer: Sometimes, a simple restart can do wonders. Turn off both the printer and computer, wait a few moments, and then turn them back on.
- Verify Network Connection (Wireless): Ensure both your printer and computer are connected to the same Wi-Fi network. Check for any network issues that might be causing the disconnect.
- Update Drivers and Software: Visit the official Brother website to download and install the latest drivers and software for your printer model. Outdated drivers can lead to connectivity problems.
- Firewall and Security Settings: Verify that your computer’s firewall or security software isn’t blocking the printer’s communication. Temporarily disable them to check if it resolves the issue.
- Check Printer Status and Queues: Ensure there are no stuck print jobs in the printer queue. Cancel any pending jobs that might be causing a communication breakdown.
- Reset Network Settings (Wireless): If using a wireless connection, reset the printer’s network settings and reconfigure the Wi-Fi setup from scratch.
- Reinstall Printer Software: Uninstall the printer software from your computer and then reinstall it. This can help resolve any software-related issues.
- Use a Different USB Port: If using a USB connection, try plugging the cable into a different USB port on your computer to rule out port-related problems.
- Contact Support: If all else fails, reach out to Brother’s customer support for assistance. They can provide specialized guidance to help you resolve the connectivity issue.
Dealing with a Brother printer that’s not connecting to your computer can be a temporary setback, but with our comprehensive troubleshooting guide, you’re equipped with the tools to diagnose and resolve the issue. By following these expert tips, you’ll soon restore the seamless communication between your Brother printer and computer, ensuring you can resume printing without any further hindrances
Visit this website to read more interesting articles