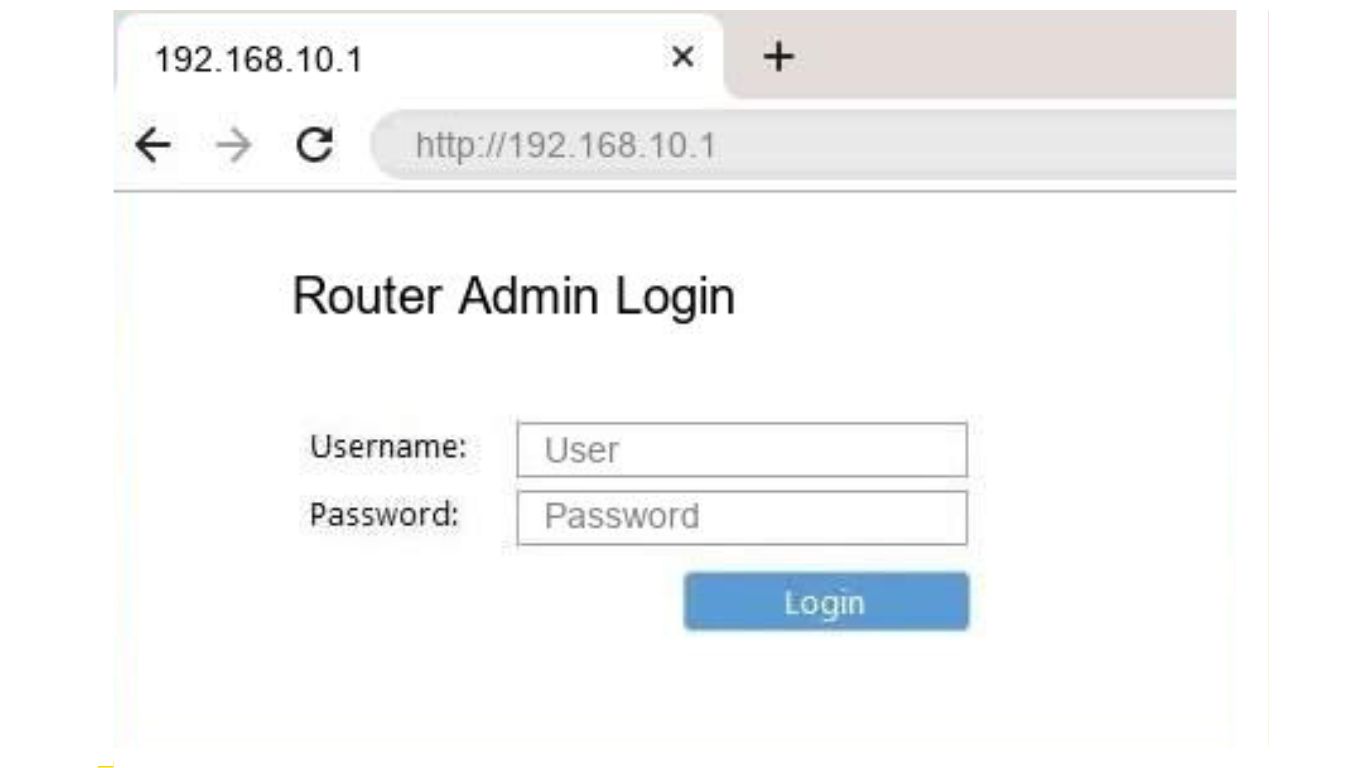
192.168.10.1 is the default IP address of the Netgear extender. It is the gateway of WiFi extender configuration settings and other necessary features. But, nowadays most people come across 192.168.10.1 IP not working issues. If you are also facing the same problem and you find a solution, then no need to worry. In this article, we will walk you through troubleshooting tips to fix the IP not working issue.
Causes & Solutions 192.168.10.1 IP Not Working
Cause 1:Outdated Web Browser
An outdated version of the internet browser also could be the reason for the I92.168.10.1 IP address not working issue.
Solution: Update the Browser
To access the IP address of the wireless range extender, you need to upgrade the browser of your device. So, we suggested you check the version of the browser first.
Cause 2: Wrong Cable Connection
Another reason why you are facing IP not working issue is due to the wrong connection between the extender and the host router.
Solution: Check the cable connection
To fix this issue, make sure that the power cable connection between the wireless devices is secure. On the off chance, if the power cable is defective, change it instantly with the new one.
Cause 3: Incorrect IP address
One more reason why you face this issue is due to the wrong IP address. Most of the users make typing mistakes.
Solution: Use the Correct IP
To troubleshoot this issue, double-check the IP address you use to access the range extender login page. If you are unsure about an IP address then take the help of the user manual.
Cause 4: Technical Glitches
Solution: Restart the Extender
Sometimes major or minor bugs can be easily fixed by rebooting the wireless extender. If you have no idea about how to restart the wireless range extender then follow the instructions listed below:
I. First thing first, disconnect the extender from the host router.
II. Next, turn off the Netgear wireless extender and remove it from the wall outlet.
III. Wait for a couple of seconds.
IV. Now, insert the extender back into the power socket.
V. Power on the device by pressing the power button.
Cause 5: Cache & Cookies
Solution: Clear Browser cache
Temporary files, cache, and cookies can create issues while accessing the web interface.
To clear all the junk files from the browser, launch Google Chrome. After that, click on the ellipsis icon to open the Chrome menu. Here, choose More Tools>Clear Browsing Data. Set the Time range to All times and check the categories you want to clear. Now, click on the Clear Data option and wait to complete the process.
Cause 6: Firewall Settings
Solution: Disable Firewall Temporarily
Temporarily disable your client device firewall or any antivirus software you have installed. Once you access the Netgear range extender web interface then enable it again.
Causes7: Software Hiccups
Solution: Reset the Extender
One more solution to fix the 192.168.10.1 IP not working issue is just by resetting the Netgear range extender to its factory default settings. Always remember that after the reset process all the customized settings such as network name (SSID), username, or password. For reset, look for the Reset button on the range extender. Once you find it, press it carefully. Wait for a couple of settings and release the button.In this way, your Netgear extender is reset to its default settings.
Bottom Lines
Encountering 192.168.10.1 not functioning issue can be annoying, but with the help of the aforementioned hacks, you can easily troubleshoot the issue in a hassle-free manner. If you liked reading this article and want others to learn about what you did, do share it with your fellow readers via the comment section. Thank you for reading the post.