Patches are a fantastic way to customize clothing, accessories, or household items according to your taste. Whether showcasing your affiliation or wanting to express your unique style, sewing on a badge is the way ahead. Thus, this blog will take you on a creative journey where you will explore the steps of attaching artistic sew on patches using nothing more than a humble needle and thread. So, get your hands on supplies, spark your imagination, and dive into the world of patchwork magic!
10 Easy Steps To Sew On Patches Onto Anything
-
Gathering Your Tools To Unleash The Sewing Process
Before starting our stitching adventure, gather all the necessary tools. Get your needle (choose one with a sharp point and an eye large enough for your thread) and a pair of sharp scissors. Also, get your hands on the most essential item – your patch.
In case you can’t find the badge with your desired design in nearby local stores, get custom sew on patches from online professional makers. Pick an authentic company that offers the best product and share your demands with them. The experts will deliver a badge perfectly tailored to your needs and wishes. Besides, you can use a thimble to protect your fingers during stitching.
-
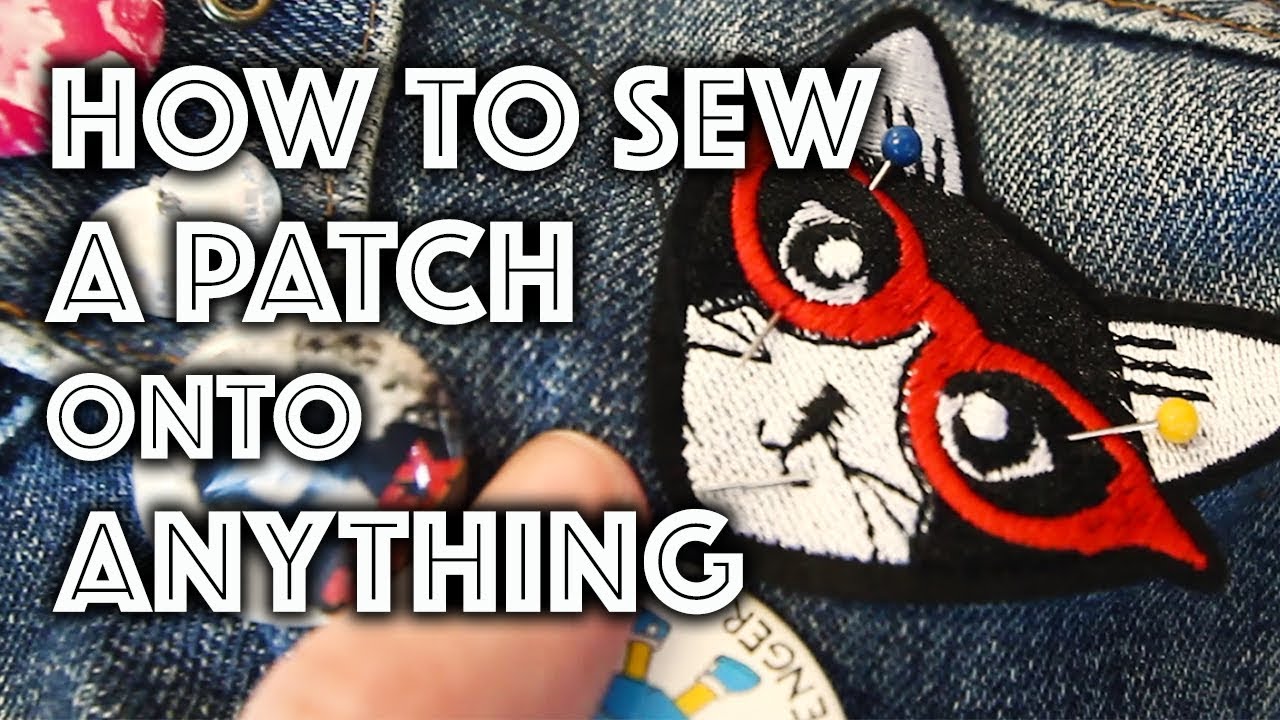
Pick The Perfect Placement To Meet Your Art To Fashion
Selecting the ideal placement for your patch is all-important. So, consider the item you want to animate and the overall aesthetic you wish to achieve. Do you want to cause a stir by making a bold statement or opt for a minimalistic touch? Once you’ve decided, experiment with different placements by temporarily securing the patch with pins.
-
Preparing Prepping Your Fabric Like Canvas For Stitching
Prepare the fabric for the patch by ensuring it’s clean, dried, and wrinkle-free to prep your garment like a canvas for stitching. If the apparel you want to adhere to our badge has cotton material, ensure it’s washed at least once. Because this fabric generally shrinks after the first time, it may result in pulling your motif and bunching it. Besides, you may want to stabilize the clothing by adding lightweight backing material for the best results. This step will provide additional support and prevent puckering.
-
Indulge In The Art Of Threading To Explore Your Creativity
Threading a needle may seem simple, but It is an art. Whether you’re using a single thread or doubling it for added strength, patiently guide the thread through the eye of the needle. If you’re struggling, dampen the thread’s end slightly with your saliva, a temporary adhesive for holding minute strands together. You can also use a needle threader if you have one available. Once threaded, tie a knot at the other end of the yarn and leave a tail long enough to secure it later.
-
Securing The Badge With Stitches
With your needle and thread ready, it’s time to bring your badge to life on your desired garment. Begin on the fabric’s inside and poke the needle out to ensure the knot is not visible on the outside. Gently push the needle through the material and the badge, securing it firmly. Sew along the patch’s edges, ensuring a smooth connection among all the stitches. Experiment with various stitch styles like the classic running type, whipstitch, or even the decorative blanket stitch to amplify the visual appeal of your motif. Besides, if your emblem is circular in shape, go for an overcast sewing type, as it will wrap all the working threads around the border of the seam.
-
Practice Patience During The Process
Increase the number of your stitches to ensure your emblem stays securely in place. Carefully weave the needle in and out of the fabric around the badge’s edges to create a series of evenly spaced stitches. This technique, generally known as “tacking,” protects the sewing against potential loosening or damage.
-
Finish It Off With A Touch Of Elegance
Once you attach your badge correctly to the item, it’s time to add the finishing touches. To complete your sewing masterpiece, tie off the thread securely. Insert the needle through the fabric to create a tiny loop. Pass the hand through the loop, forming a knot close to the fabric’s surface. Repeat this process several times to ensure a tight and secure knot. Finally, trim the excess thread close to the knot and make sure not to cut the fabric.
-
Play With Stylish Badges And Showcase Your Creativity
Congratulations! You’ve successfully sewn on a patch and turned your ordinary item into a unique reflection of your style. You can now showcase your newfound skill and creativity to the world by styling that staple with various garments. Besides, consider adding more custom iron on patches to play with different placements to amplify the fashionable look further. Thus, use your imagination and combine various motifs to craft fascinating designs.
-
Take Care Of Your Artwork Of Sew On Patches
Proper care is essential to ensure the longevity of your motif and its adherence to your items. Whenever you launder your clothing, turn the garment or item inside out to protect the emblem during washing and drying. Besides, go for gentle washing cycles and air drying to avoid unnecessary stress on the stitches. Take care of your patchwork from any loose threads or any possible damage.
-
Get Connected With Fellow Patchwork Enthusiasts
Sewing on badges to your various items will open the door to a vibrant and passionate community of patch enthusiasts. If you’re enthusiastic about patches, join social media groups or local meetups to share your creations and exchange tips and tricks. Interacting with fellow motif lovers will let you find inspiration from their patchwork and creativity. Thus, it is a great way to nurture your love for sewing motifs.
Also Read: Understanding Dark Funnel in B2B Marketing
Some Final Words
Sewing on a patch with a needle and thread is a fascinating journey of creativity and craftsmanship. Consider the above steps to personalize your belongings, express your unique style, and create meaningful connections within the patchwork community. Hence, embrace the magic of needle and thread, and let your imagination explore a world of countless possibilities. Happy patching!