Nowadays, Rockspace extender full fills the internet need of million people around the globe. This piece of technology provides blazing-fast internet speed and also covers the WiFi dead zone areas. Rockspace extender can be configured in two ways WPS button method and Rock space WiFi extender manual method. But, here we only discuss the manual method in detail with you so that you can understand the procedure and will easily install the extender in your house. So, let’s start by knowing the prerequisites of the manual process.
Requirements of Rockspace Extender Manual Method
Here we listed all the important things that you need during the manual configuration process. Knowing things will make it easy to install the extender.
-
Good connection of internet from internet service provider and router.
-
Working power socket.
-
Damage-free LAN cable to connect the extender to the router.
-
A device like a mobile, computer, or laptop.
-
Updated internet browser.
-
Default web and IP address.
-
Admin detail (username & password).
Thus, these were the requirements that you need to get ready for the manual method. Once the things are ready you can proceed further.
Rockspace Extender Manual Method Steps
Initial Setup
-
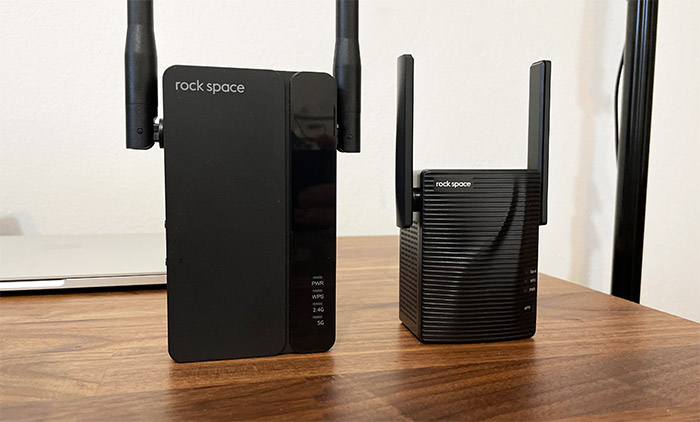
Plug the Rockspace extender into a power outlet within the range of your existing WiFi network.
-
Wait for the extender’s LED lights to stabilize. There might be a power LED and WiFi signal strength LED(s).
Connect to the Extender
-
On your computer or mobile device, search for available WiFi networks.
-
Look for the SSID (network name) of the extender. This is often labeled on the extender itself.
-
Connect to the extender’s WiFi network.
Access Extender’s Web Interface
-
Open a web browser (e.g., Chrome, Firefox) on your device that is connected to the extender’s WiFi network.
-
In the address bar, enter the IP address of the extender (if applicable). This should be mentioned in the user manual. Alternatively, you might need to use a specific web address like “http://rockspace.local/”.
Login to the Extender
-
Now you are at the Rockspace WiFi extender login page.
-
You might be prompted to enter a username and password. This should also be mentioned in the user manual.
-
Once logged in, you should be in the extender’s settings interface.
Configure Extender Settings
-
Look for a section related to “Wireless Settings,” “WLAN Settings,” or similar.
-
Locate and select your existing WiFi network from the list of available networks.
-
Enter your existing WiFi network’s password when prompted.
-
After entering the required information, save or apply the settings.
Reconnect to Your Network
-
Your extender will now reboot and connect to your existing WiFi network.
-
Disconnect from the extender’s network and reconnect to your original WiFi network on your device.
Congratulation! Your Rockspace extender has been configured successfully via the manual method. Now you will get blazing fast internet throughout your house and enjoy the lagging free internet.
Bonus Tip: In case you face any issues while the Rockspace extender manual method, then check the steps of the process that you follow first. After that, check the cable connection to ensure you insert all the cables properly or not. Moreover, you can also reset the device by pressing the reset button located on the back side of the device. Once the device is reset you need to re-install it again to enjoy the internet service.