Welcome to the exciting world of home painting! This beginner’s guide will provide you with essential tips and tricks to embark on a transformative journey for your living space. Painting your home allows you to unleash your creativity and achieve a fresh look that reflects your personal style. Don’t worry if you’re new to painting – we’ve got you covered! Learn about the necessary tools and materials, understand different paint types and finishes like interior & exterior painting, and discover step-by-step techniques to achieve professional results. From surface preparation to caring for your painted walls, this guide will walk you through every aspect, ensuring your project is a resounding success. Get ready to experience the joy of seeing your vision come to life and enjoy the satisfaction of a job well done. Let’s dive in the guide of Home Painting for Beginners and start your home painting adventure today!
Essential Tools and Materials
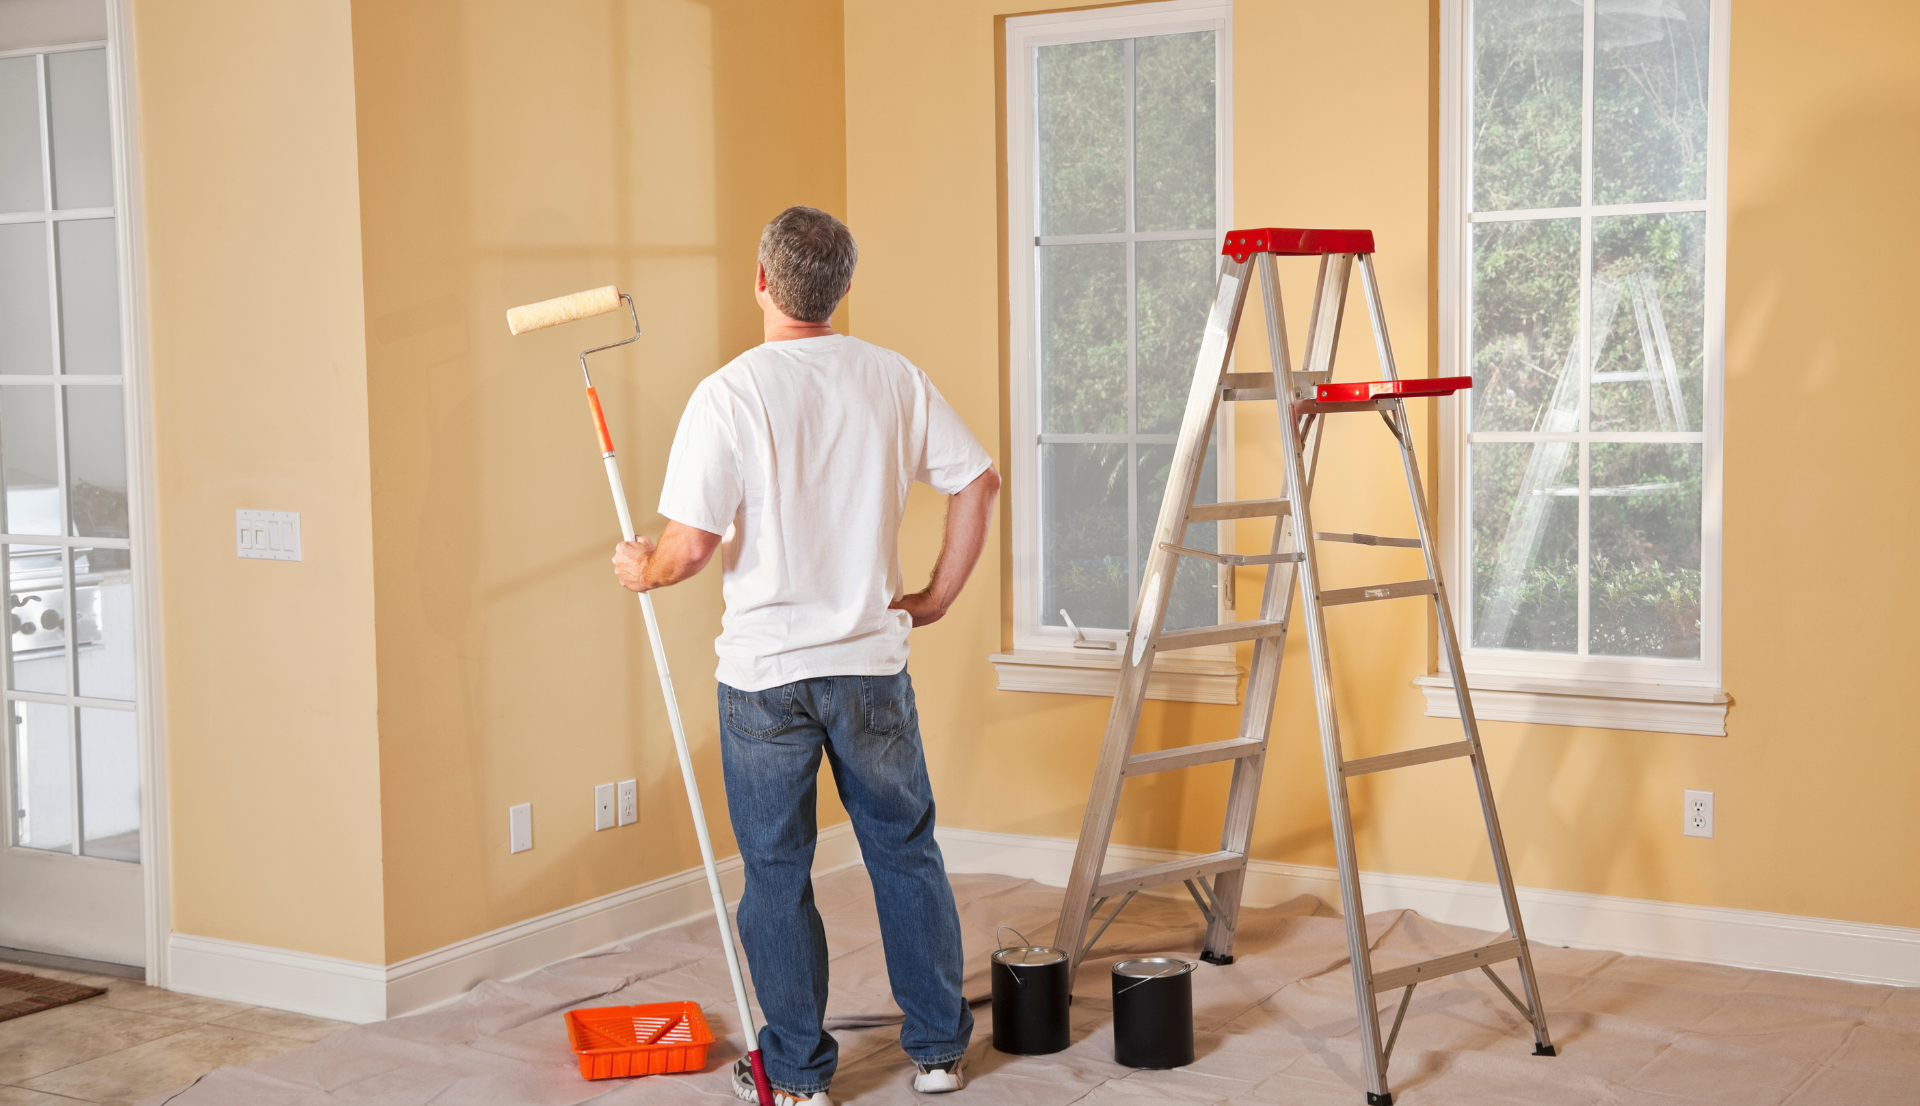
Overview of basic painting tools (brushes, rollers, painter’s tape, etc.)
The basic painting tools are essential for achieving professional results in any painting project. Brushes come in various shapes and sizes, allowing for precise detailing and broad strokes. Rollers are ideal for covering large areas quickly and evenly. Painter’s tape is used to create clean lines and protect surfaces from accidental paint splatters. Drop cloths are vital for shielding floors and furniture. Paint trays provide a convenient platform for dipping brushes and rollers. Sandpaper helps in smoothing surfaces before painting. Lastly, a ladder ensures easy access to high or difficult-to-reach spots. These fundamental tools form the foundation of a successful painting endeavor, making the process smoother and more efficient.
Understanding different paint types (latex, oil-based, acrylic) and finishes (matte, satin, gloss)
Understanding different paint types and finishes is essential for successful painting projects. Latex paint is water-based, dries quickly, and emits fewer fumes, making it user-friendly and easy to clean up. Oil-based paint, on the other hand, provides a durable and glossy finish, but requires longer drying time and solvent cleanup. Acrylic paint combines features of both latex and oil-based, offering quick drying, easy clean-up, and versatility on various surfaces.
Finishes, such as matte, satin, and gloss, determine the paint’s appearance and durability. Matte finish provides a non-reflective, smooth look, best for hiding imperfections. Satin finish offers a subtle shine, suitable for high-traffic areas due to its durability. Gloss finish delivers a shiny surface and is ideal for highlighting architectural details.
Choosing the right paint type and finish ensures optimal results for any painting project.
Preparing the painting area and protecting furniture and floors
To begin the painting process, it’s essential to prepare the painting area adequately while safeguarding the surrounding furniture and floors. Start by clearing the room of any items that might obstruct your work or be at risk of accidental splatters. Cover the furniture with drop cloths or old sheets to shield them from potential paint spills or drips.
For the floors, lay down protective materials such as plastic sheets or canvas drop cloths to prevent paint from seeping onto the surface and causing stains. Secure these covers with tape to ensure they remain in place during the painting process.
Taking these precautionary steps not only keeps your furniture and floors safe from damage but also creates a clean and organized environment for a smoother and more enjoyable painting experience.
Step-by-Step Painting Guide
Surface preparation: Cleaning, patching, and sanding the walls
Surface preparation is a crucial step in any painting or decorating project. It involves three key processes: cleaning, patching, and sanding the walls.
Cleaning the walls ensures the removal of dirt, dust, and grease, providing a clean and smooth surface for the paint to adhere to properly. Patching involves filling any holes, cracks, or imperfections with appropriate filler or putty, ensuring a uniform and even wall surface.
Sanding follows the patching process, where the walls are gently sanded to create a smooth finish, allowing the paint to spread evenly and adhere effectively. Proper surface preparation ensures a professional and long-lasting paint job, enhancing the overall appearance and durability of the walls.
Choosing the right colors and creating a color scheme
Choosing the right colors and creating a color scheme is essential in any design project. Colors have a significant impact on emotions, perceptions, and overall aesthetics. Start by understanding the project’s purpose and target audience. Consider the message you want to convey and the mood you wish to evoke. Research color psychology to make informed decisions about color associations.
Aim for balance and harmony in your color scheme. You can opt for monochromatic, complementary, analogous, or triadic combinations. Keep in mind the color’s contrast to ensure readability and visual appeal. Test your color scheme across different devices and lighting conditions to guarantee consistency.
Remember that colors should support the project’s goals, not overshadow them. When in doubt, simplicity often works best. By carefully selecting colors that resonate with your audience and align with your project’s vision, you can create a compelling and visually appealing design.
Painting techniques: Cutting-in, rolling, and avoiding common mistakes
Painting techniques are essential for a flawless finish. Cutting-in involves carefully painting edges and corners with a brush before rolling the larger surfaces. Rolling provides a smooth and even coat on walls and ceilings. To avoid common mistakes, ensure proper prep work, like cleaning and sanding surfaces, using high-quality brushes and rollers, and using painter’s tape for clean lines. Additionally, avoid overloading the brush or roller with paint, as it can cause drips and uneven coverage. Patience is key; let each coat dry before applying the next. By mastering these techniques and being mindful of pitfalls, your painting project will yield professional results.
Achieving smooth and even coats of paint
Achieving smooth and even coats of paint is essential for a professional finish. To achieve this, follow these steps:
- Prepare the surface by cleaning and smoothing it to remove any imperfections.
- Use high-quality paint and mix it thoroughly before application.
- Apply a primer to create a smooth base for the paint.
- Use the right tools, such as brushes, rollers, or sprayers, depending on the surface and paint type.
- Apply the paint in thin, even layers, allowing each coat to dry before adding the next.
- Maintain consistent pressure and avoid excessive brushing or rolling.
- Watch for drips or uneven spots and fix them immediately.
- Lastly, work in good lighting to ensure proper coverage. With attention to detail and patience, you’ll achieve a flawless finish.
Tips and Tricks for a Professional Finish
Understanding the importance of primer and when to use it
Primer is a crucial preparatory step in various applications, such as painting, makeup, and construction. Its importance lies in creating a smooth and even surface, enhancing the adhesion of subsequent layers, and improving the overall longevity of the final product. In painting, primer ensures better color accuracy and prevents the paint from being absorbed by the surface. In makeup, it helps makeup last longer and creates a smooth canvas for application. In construction, primer enhances the bonding of materials. Use primer whenever you need to optimize results, increase durability, and achieve a professional finish. It is especially beneficial on porous or uneven surfaces, offering a cost-effective solution for better outcomes.
Dealing with common issues like drips, streaks, and bleed-through
Addressing common issues such as drips, streaks, and bleed-through requires attention to detail. For drips, ensure the surface is clean and dry before applying a smooth, even coat. To prevent streaks, use long, steady strokes and maintain a consistent paint thickness. When dealing with bleed-through, apply a primer specifically designed to block stains before painting. Additionally, choose high-quality brushes and paints to minimize these problems. Regularly inspect and touch up areas as needed to maintain a flawless finish. Remember, patience and proper techniques are key to achieving a professional-looking paint job.
Mixing and blending colors for a custom look
Mixing and blending colors allows you to create a custom look that’s uniquely yours. Whether you’re an artist, a designer, or simply redecorating your living space, the possibilities are endless. By experimenting with various hues and tones, you can evoke different emotions and set the desired ambiance. Play with primary colors to achieve a wide spectrum of shades, or try complementary colors for striking contrasts. Don’t be afraid to mix in white or black to create tints and shades, adding depth to your creations. Whether it’s on canvas, in fashion, or home decor, the art of mixing colors opens a world of creative expression at your fingertips.
Using painter’s tape effectively and removing it without damage
Painter’s tape is a valuable tool for clean edges and protection during painting. To use it effectively, ensure the surface is clean and dry before applying. Press down firmly to prevent paint bleed. After painting, remove the tape gently at a 45-degree angle, avoiding tearing or pulling. If the paint has dried, score the edges with a utility knife before peeling off. Take care to remove it promptly after painting to prevent adhesive buildup. Following these steps will ensure a seamless finish without any damage to the painted surface.
Conclusion
In conclusion, home painting can be a rewarding and enjoyable experience for beginners when armed with the right tips and tricks. Remember to start with thorough preparation, using the appropriate tools and materials. Take your time to choose colors wisely and test them on a small area before committing to the whole project. Practice proper painting techniques, such as avoiding drips and streaks, to achieve a smooth and professional finish. Don’t be afraid to seek inspiration and guidance from online resources or experts. With patience, practice, and creativity, you can transform your living spaces into beautiful, personalized havens that reflect your style and personality. Happy painting!