How to Draw A Fancy Letter Y. As the penultimate letter of the alphabet, Y is often one of the last letters we learn. Once we learn it, we use it frequently in our daily life.
Also, check our Lizard Coloring Page.
It is a fairly easy letter to write, and the case of the letter is quite similar.
You’d think you knew everything about this letter, but we’re here to look at the letter Y from a new perspective!
In the 6 steps of this guide, we will learn how to draw a cool letter Y. This is done with great details and additions to the design.
We’re also trying out some fun colors, background ideas, and extra details to make this the craziest letter Y you’ve ever seen!
How to Draw A Fancy Letter Y
Step 1
When you write a capital Y, you use three straight lines connecting each other. However, that’s not our approach with this crazy version!
Instead of a straight line, we simply use curved and rounded lines. This might make it look more like a lowercase Y than an uppercase, but you can use it for either shape.
Before we get started, why not quickly sketch a letter Y in pencil? This way, you can keep the shape of the letter in mind as you draw.
Also, you can use it to plan the size of the letter. So we can draw the first lines of the drawing. First, we draw a curved line with a spiral at the end.
Begin by drawing a loose spiral shape, extending into the depths of a curved line. It might be difficult to see where that fits in the letters, especially if you didn’t pencil a Y.
As we’ll see in a moment, it forms the left “arm” of the letter and the indentation in the middle. When that’s done, we can add the next section in step 2.
Step 2
Now that you have the beginning of the left side of the letter Y let’s add the top part of this section! We’ll start with the spiral section you started with in step one.
Add a pointed tip and draw the spiral twisting into a curved line. This part may look a lot harder than it actually is. Therefore, pay careful attention to the reference image when drawing.
This spiral will become a curved line parallel to the line from the previous step. It follows the same dip down the middle and then turns sharply up.
At the end of this step, we will see the letter U with a space on the right. But we want the letter Y, not a U! So we will fill this gap in the next step to complete the letter outline.
Step 3
As promised, in this step, we will finish the outline of your fantasy letter Y. We’ll pick up where you left off last time!
We’ll add one more sharp tip where last time’s decline ended. This top runs down in a slightly wavy, curly line.
This curly line extends beyond the base of the letter and then curls to the left at the bottom. Curls sharply and looks a bit like a tail.
This tail will also end up with a pointed tip. And then, it will curve again to fill the gap and reconnect with the letter.
It’s not as difficult as it seems as long as you follow the picture closely! Now that you have a complete outline, you can erase the pencil lines you used in the first step.
Step 4
Drawing this letter Y came with some challenges, but it gets easier and even more fun from here! In this and the next step, we will add some details to your drawing.
In this particular step, we focus on the internal details of the letter. First, we drew some spiral lines protruding from the two points of the letter.
We didn’t put one at the top of the left spiral as it could overload the spiral! However, you can add one there if you want.
So we wanted to add a simple theme to the letter. We have drawn wavy lines throughout the letter.
It’s a simple example of details that look intricate yet easy to draw. If you like the look of this template, you can add it to your design.
Of course, you can also opt for a different scheme! This is where you can show how creative you are because there are many ways to decorate the letter.
But we’re not done yet! In the next step, we need to add more details.
Step 5
Now there are some interesting details inside the letter,; later, we will add some details on the outside.
First, we changed our mind about whether there was enough spiraling action on the left side of the letter! You can see it when we added another spiral line on the left.
Next, we drew a few small dots along the contour. These were in the top and right curves of the outline.
Finally, we drew another line sticking out of the top left of the image and added some small leaves. This makes it look like a little plant is growing out of the letter!
You will find that we have kept all these details to a minimum. You can add many more of these details and limit yourself to one or two.
Now that you’ve seen some details that can be added, you can come up with some to decorate as well.
Step 6
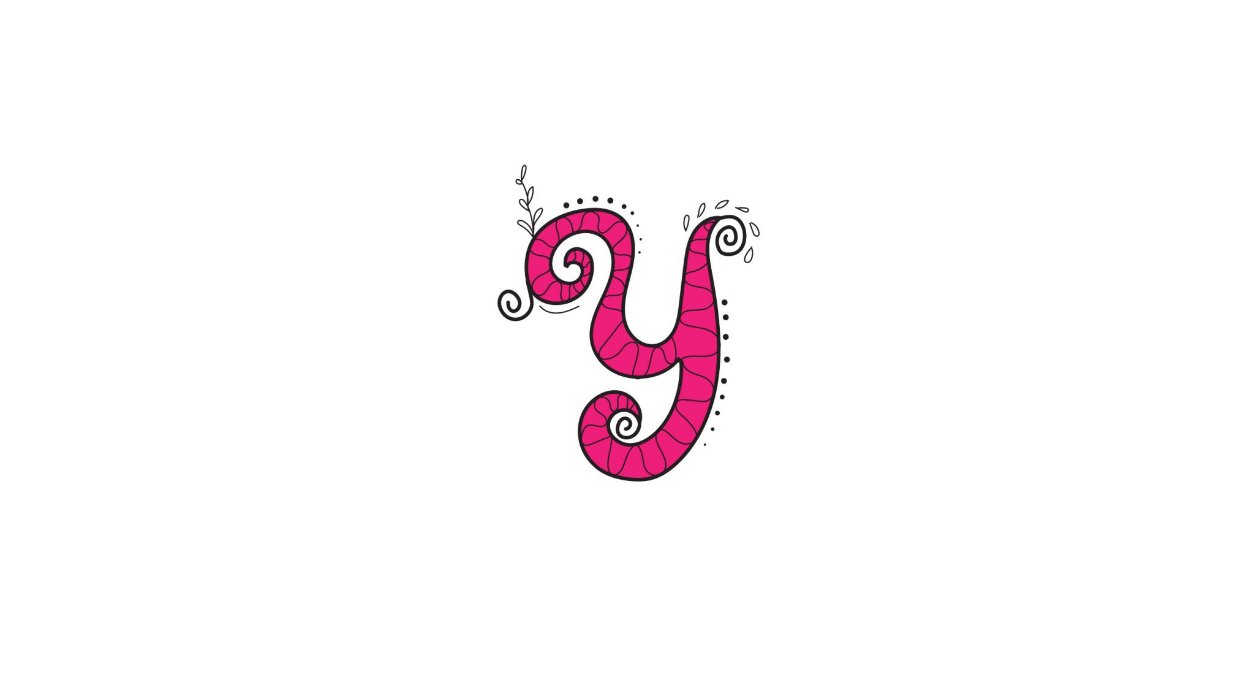
Adding color is always the best way to complete a drawing, and that’s exactly what we want to do in this final step! In our sample picture, we show you which color selection we would make.
We added bright pink to color the letter to make this image bright and eye-catching. If you love pink, you can customize it in the same color!
You could use many other shades of pink instead, or you could even use any other color you like!
You could go for yellow since it starts with the letter Y. There are so many options, and you should choose what feels right for you.
We only used one color for our example, but you can use multiple colors. We also just colored the letter, but there is also a lot of white space in the background.
Adding color to the background could be a great way to emphasize or complement the colors of the letter.
Your Fancy Letter Y Drawing is Finished!